

Hi, I’m Jake, and I’ve always been the kind of person who enjoys getting my hands dirty in the garden. I’ve learned over the years that tree pruning isn’t just about making a tree look nice—it’s about keeping it healthy, strong, and safe. If you’re like me, you want to know how to properly prune your trees without harming them. So, let’s break it down step by step in a way that’s easy to follow and makes sense.
Why Prune Your Trees?
Before grabbing the shears, it’s important to understand why tree pruning matters. Here are a few solid reasons:
- Encourages healthy growth – Removing dead or diseased branches lets your tree focus on new, strong growth.
- Prevents damage – Weak or overgrown branches can break and fall, causing damage to your property or injury.
- Shapes the tree – A properly pruned tree grows balanced and attractive.
- Increases fruit and flower production – Pruning is key to a better harvest if you have fruit trees.
When Is the Right Time to Prune?
Timing is everything when it comes to DIY tree pruning. Different trees have different needs, but here’s a general guide:
- Winter (dormant season) – The best time for most trees. Pruning during winter encourages strong spring growth.
- Spring – Light pruning is okay, but avoid cutting too much, as it can stress the tree during its growing season.
- Summer – Good for minor shaping and removing dead branches.
- Autumn – Avoid pruning in autumn, as cuts may heal more slowly, increasing the disease risk.
Tools You’ll Need
Having the right tools makes all the difference. You don’t need fancy equipment—just sharp, clean tools that match the size of the job. Here’s what I recommend:
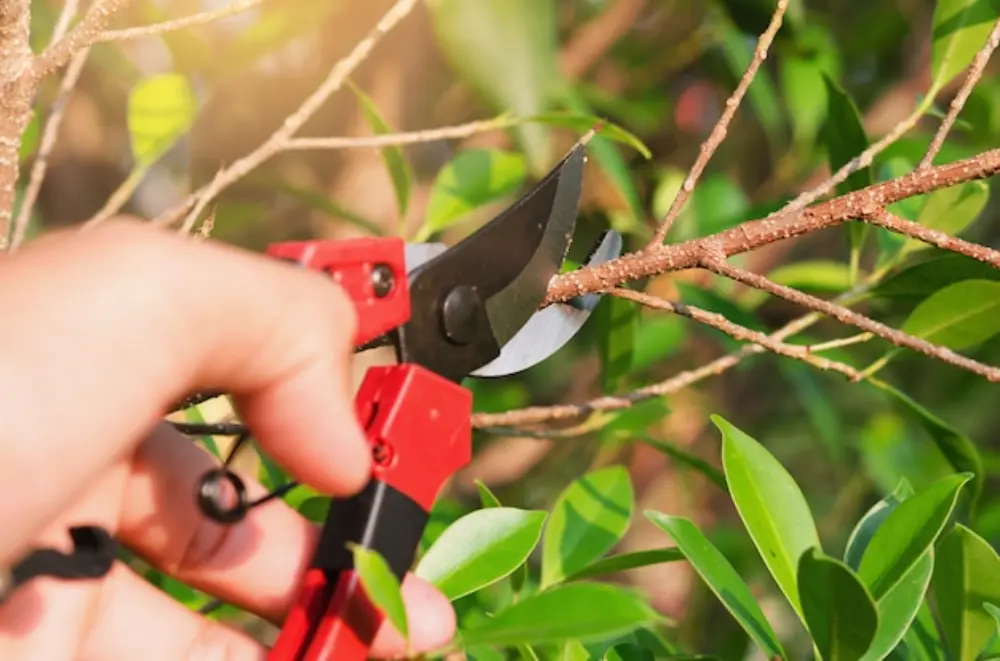
- Hand pruners – For small branches (up to 2 cm thick)
- Loppers – For medium-sized branches (up to 5 cm thick)
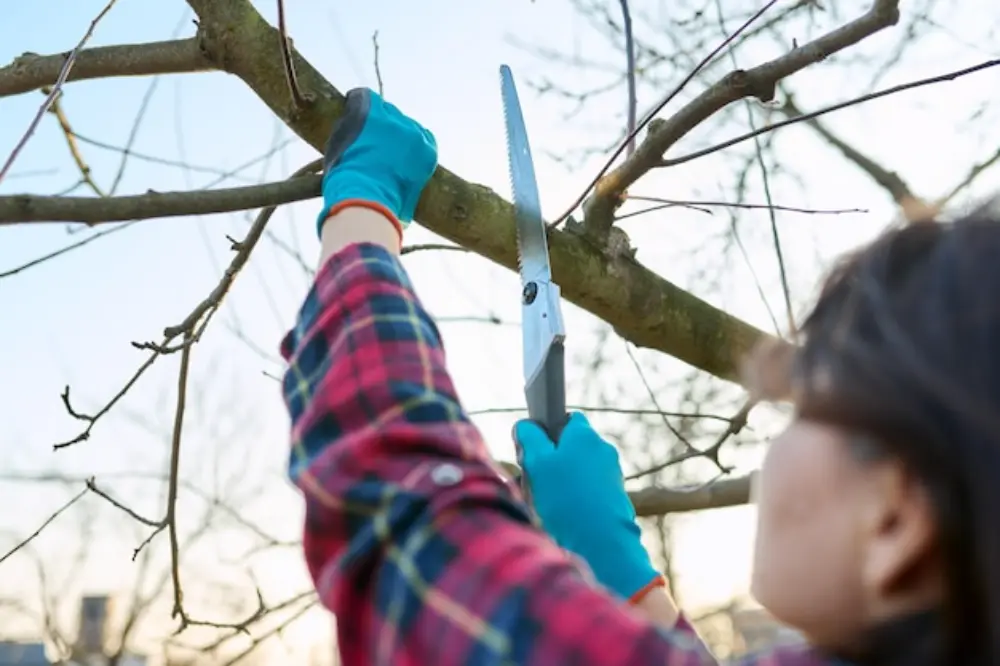
- Pruning saw – For thicker branches that need a bit more power
- Pole pruner – Handy for reaching higher branches without a ladder
- Gloves and safety goggles – Always protect your hands and eyes
Step-By-Step Guide to DIY Tree Pruning
Now that you’ve got your tools ready let’s learn how to prune your tree correctly.
1. Identify Which Branches to Cut
Start by looking for dead, diseased, or damaged branches. These are easy to spot—they may be dry, brittle, or discoloured. Also, remove any branches that cross or rub against each other.
2. Make Clean Cuts at the Right Angle
For small branches, cut just above a bud facing the direction you want new growth. For larger branches, follow these steps:
- Make a small notch underneath the branch (about 15 cm from the trunk) to prevent tearing.
- Cut a few centimetres further out from the first notch, slicing through the branch completely.
- Remove the stub by making a clean cut just outside the branch collar (the swollen area where the branch meets the trunk).
3. Avoid Over-Pruning
Trimming a lot at once is tempting, but less is more. Cutting more than 25% of a tree’s canopy at one time can stress it out. Stick to removing only what’s necessary for structure and health.
4. Step Back and Assess
Every few cuts, step back and inspect your tree. This helps you determine whether it’s balanced and prevents over-trimming.
5. Clean Up and Dispose of Branches
Always clear away the cut branches. Diseased wood should be disposed of properly to prevent spreading to other plants. If it is healthy, you can turn it into mulch or firewood.
Common Mistakes to Avoid
Even with the best intentions, mistakes happen. Here are some common pruning errors and how to avoid them:
- Cutting too close to the trunk can damage the tree and slow healing.
- Leaving long stubs – Stubs won’t heal properly and can invite pests or diseases.
- Using dull tools – A blunt blade crushes rather than cuts, leading to ragged wounds that take longer to heal.
- Over-pruning – Removing too much at once weakens the tree and can make it more susceptible to damage.
How to Care for Your Tree After Pruning
After a DIY tree pruning session, your tree needs some care to recover. Here’s what to do:
- Keep it watered – If you pruned in summer, ensure your tree gets enough water.
- Skip the wound sealants – Trees heal naturally. Painting over cuts can trap moisture and bacteria.
- Watch for signs of stress – Give your tree some extra attention if you see yellowing leaves or wilting.
When to Call a Professional
DIY tree pruning is great for regular maintenance, but sometimes, it’s best to call the experts. If you have very large branches, power lines nearby, or a diseased tree, getting a professional arborist to handle it is safer.
Final Thoughts
DIY tree pruning is an incredibly satisfying task once you get the hang of it. Not only does it keep your trees healthy and strong, but it also makes your yard safer and more beautiful. Take your time, use the right tools, and don’t be afraid to trim a little at a time.
Have you tried pruning your trees before? I’d love to hear about your experience—drop a comment below and share your tips! If you find this guide helpful, share it with fellow garden lovers. Happy pruning!